
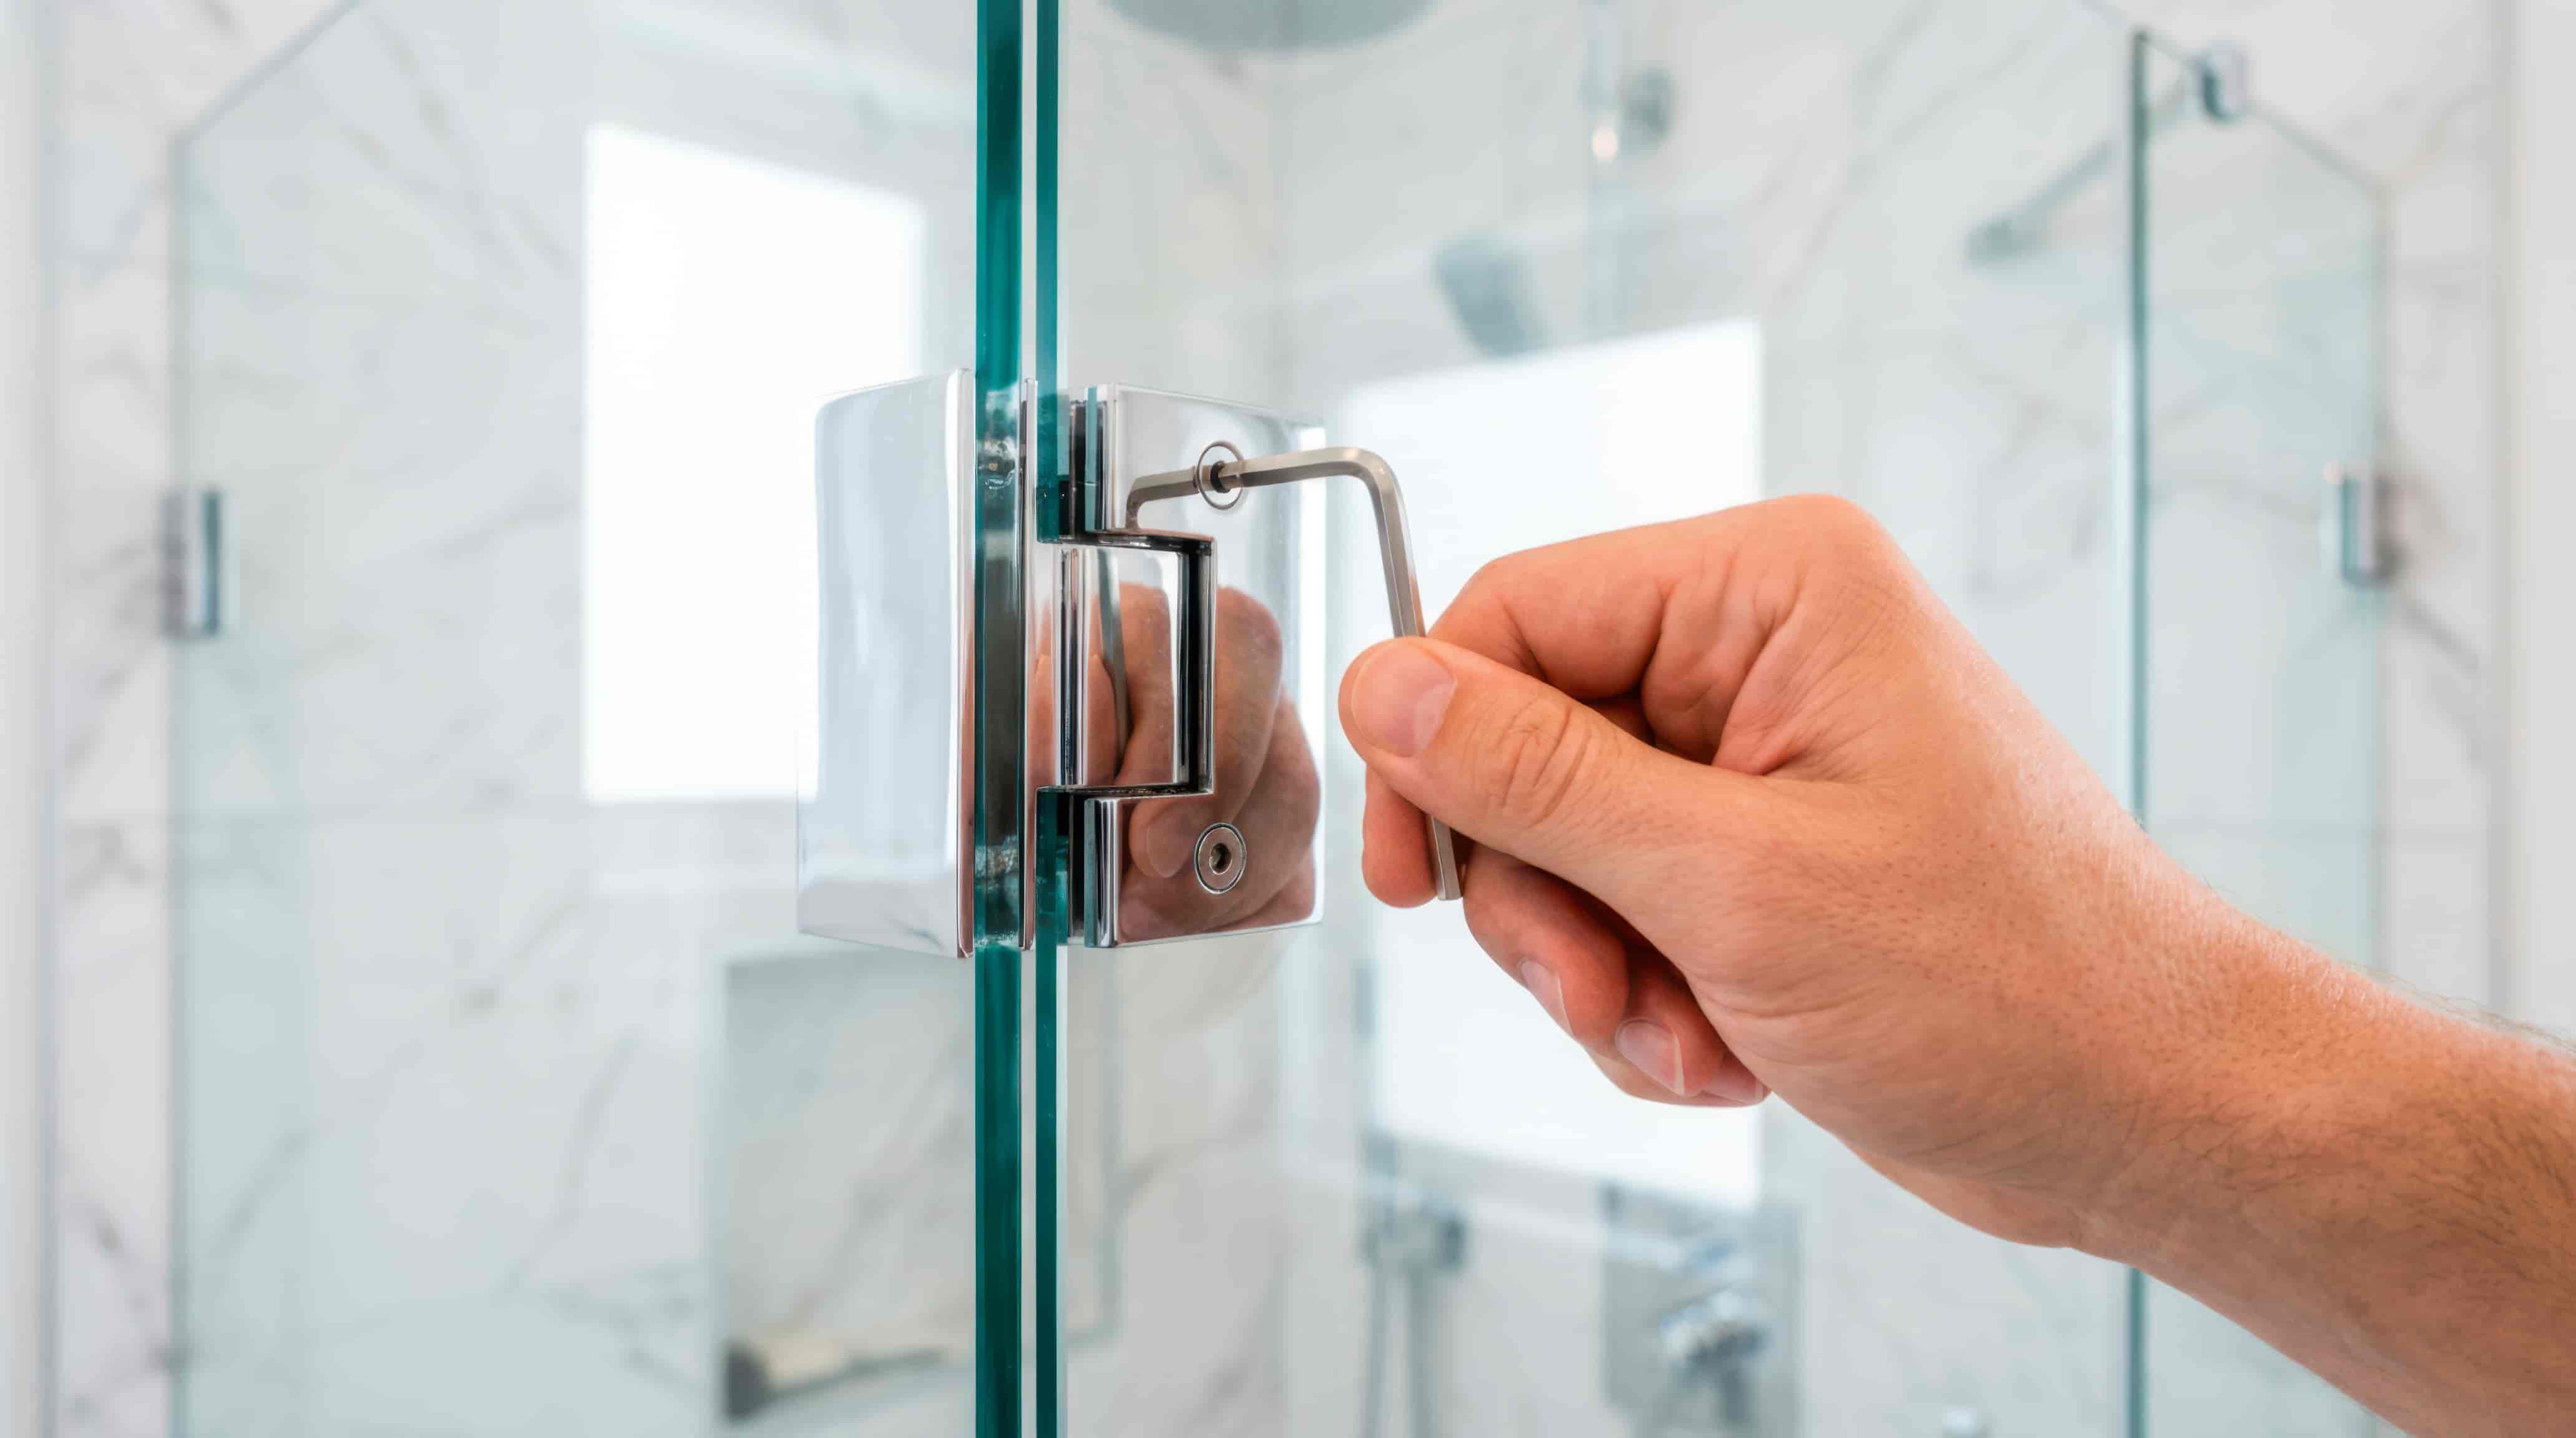
You've decided to upgrade your bathroom with a new shower door — great decision. But if you've never been through the process before, the gap between "I want a frameless glass shower door" and "it's installed and looking amazing" can feel like a mystery. What exactly happens between your first phone call and the moment you step into your newly enclosed shower?
This guide walks you through every stage of the professional shower door installation process in Tampa, Florida — from the precision measurement visit to the final hardware polish. Whether you're planning a bathroom renovation, replacing a worn sliding door, or upgrading a new construction home, understanding this process helps you plan smarter, avoid costly surprises, and choose the right installation partner.
Why the Installation Process Matters More Than the Product Alone
Many homeowners shop for shower doors the same way they shop for furniture — they pick a style, pay for it, and expect it to arrive ready to use. But a shower door is a precision-fitted architectural element, not an off-the-shelf product.
A poorly measured or improperly installed shower enclosure can lead to:
- Water leakage onto bathroom floors, causing mold and structural damage
- Glass misalignment that makes doors difficult to open or creates uneven gaps
- Hardware failure from incorrectly anchored fittings in tile or drywall
- Voided warranties on both the glass and hardware
This is why the installation process — not just the product — is where quality is won or lost. In a humid climate like Tampa's, where bathrooms are in near-daily use year-round, a properly sealed and installed shower enclosure is essential. Our guide to planning around Tampa's coastal climate explains how local humidity, salt air and hard water shape the right specification.
Step 1: The Initial Consultation and Design Selection
The process begins with a conversation. A professional shower door company in Tampa will start by understanding:
- The size and layout of your shower or bathtub space
- Your preferred style — frameless, semi-frameless, or framed
- Your glass preferences — clear, low-iron, frosted, or patterned
- Your hardware finish — chrome, brushed nickel, matte black, oil-rubbed bronze, or custom
- Your budget range and project timeline
This stage often involves reviewing a portfolio of completed projects, looking at hardware samples, and discussing the structural conditions of your existing bathroom — including whether walls are tiled, whether there's a curb or curbless shower base, and what type of wall substrate is present.
Pro Tip: Bring photos of bathrooms you love to your consultation. Visual references help your installer understand exactly what aesthetic you're aiming for, reducing back-and-forth later in the process.
Step 2: Professional On-Site Measurement
This is arguably the most critical step in the entire process. Unlike standard doors, shower enclosures must be custom-fabricated to fit your exact space — and no two bathrooms are identical.
A professional measuring technician will visit your Tampa home and take precise measurements of:
- Wall-to-wall width at multiple heights (walls are rarely perfectly plumb)
- Floor-to-ceiling height at multiple points
- The shower pan or curb dimensions and slope
- Wall angles (especially important in corner showers)
- Location of existing plumbing (showerhead, fixtures, niches)
- Wall material and condition — tile thickness, grout lines, and substrate type
Why Multiple Measurements Matter
In Florida's older homes and even newer construction, walls are rarely perfectly square or plumb. A professional technician measures at three or more points across the width and height of the opening to account for any variance. This data is used to cut glass panels to compensate for out-of-plumb walls, ensuring a flush, gap-free fit.
Measurements are typically recorded to 1/16th of an inch or finer, and this data is sent directly to the fabrication facility.
Step 3: Custom Glass Fabrication
Once measurements are confirmed and your design choices are finalized, the glass panels are sent into production. This stage usually takes 5 to 15 business days, depending on the glass type and current shop volume.
What Happens During Fabrication?
| Process | Description |
|---|---|
| Glass cutting | Panels are cut to exact dimensions from large glass sheets |
| Edge polishing | All exposed edges are polished smooth for safety and aesthetics |
| Drilling | Holes are precision-drilled for hinges, handles, and hardware |
| Tempering | Glass is heated and rapidly cooled to create safety glass (required by building code) |
| Coating application | Optional protective coatings (like ClearShield or similar) are applied |
| Quality inspection | Panels are inspected for chips, distortion, or fabrication errors |
Common Glass Types Used in Tampa Shower Installations
- Clear tempered glass — Classic, timeless, easy to see through; requires regular cleaning in Tampa's hard water environment
- Low-iron glass (Starphire) — Appears crystal clear without the green tint of standard glass; preferred for luxury installations
- Frosted or etched glass — Offers privacy while still allowing light through
- Patterned glass — Adds decorative texture; popular in transitional and traditional bathroom designs
- Rain glass — Obscured texture that mimics falling water; a stylish privacy option
All glass used in shower enclosures must be tempered safety glass per Florida Building Code, ensuring that if breakage occurs, the glass crumbles into small, blunt fragments rather than dangerous shards.
Step 4: Pre-Installation Preparation
Before your installer arrives, there are a few things you can do to ensure the installation day goes smoothly:
Homeowner Checklist Before Installation Day
- Ensure all tile work, grouting, and caulking is fully cured (typically 48–72 hours minimum)
- Clear the bathroom of personal items, rugs, and décor
- Confirm your shower pan or base is fully set and sealed
- Ensure the water supply is operational but that no one needs shower access for the installation window
- Make sure an adult is home to receive the installation team
- Check that the bathroom has adequate ventilation or access to open a window
If your bathroom is part of a larger renovation, the shower door installation should be one of the last steps, after tile, plumbing fixtures, and lighting are complete.
Step 5: The Installation Day — What Actually Happens
This is where the transformation becomes visible. A professional installation team typically arrives with all glass panels pre-fabricated, the hardware kit, sealing materials, and precision tools. Here's what the process looks like in real time:
Phase 1: Wall Channel or Header Installation (Framed/Semi-Frameless)
For framed or semi-frameless enclosures, U-channels or aluminum tracks are anchored to the walls and floor. These must be level, plumb, and securely fastened into wall studs or tile backer — never just into drywall alone.
Phase 2: Hinge and Clamp Mounting (Frameless)
For frameless shower doors — the most popular style in Tampa's modern and luxury bathrooms — heavy-duty hinges or glass clamps are mounted directly to the wall tile. This requires:
- Locating wall studs or solid backing behind tile
- Drilling through tile with diamond-tipped drill bits
- Using appropriate wall anchors rated for the weight of the glass
- Setting hinges at precise heights to ensure the door swings level
Phase 3: Glass Panel Placement
Glass panels are carefully lifted and positioned — often requiring two or more technicians due to the weight (frameless glass panels commonly weigh 50–100+ lbs). Each panel is:
- Set into channels or onto hinges
- Checked for plumb and level using laser levels
- Adjusted with shims if needed to achieve perfect alignment
Phase 4: Hardware Installation
Handles, towel bars, knobs, and any decorative hardware are installed at this stage. Proper torque is critical — over-tightening can crack glass, and under-tightening creates loose, rattling hardware.
Phase 5: Sealing and Weatherstripping
All critical junctions are sealed with 100% silicone caulk — including:
- The bottom of the glass where it meets the shower pan
- The side channels where glass meets the wall
- Any penetrations through tile for hardware anchors
Sweep seals and magnetic closures are attached to ensure the door closes cleanly and contains water effectively.
Phase 6: Final Inspection and Cleanup
The installation team will:
- Open and close the door multiple times to check swing and alignment
- Verify all hardware is tight and functioning
- Clean all glass panels with professional glass cleaner
- Remove all installation debris and packaging
- Walk you through the door operation and care instructions
How Long Does Shower Door Installation Take in Tampa?
| Stage | Typical Timeline |
|---|---|
| Initial consultation | Same day to 3 days |
| On-site measurement | 30–60 minutes |
| Fabrication lead time | 5–15 business days |
| Installation day | 2–4 hours (standard enclosure) |
| Curing time before use | 24–48 hours (silicone curing) |
| Total project time | 2–4 weeks from first contact |
What Does Shower Door Installation Cost in Tampa?
Pricing varies based on glass type, enclosure style, size, and hardware selection. Here's a general overview:
| Enclosure Type | Typical Price Range (Installed) |
|---|---|
| Framed shower door | $400 – $900 |
| Semi-frameless enclosure | $700 – $1,500 |
| Frameless shower door | $900 – $2,500+ |
| Custom frameless enclosure | $2,000 – $5,000+ |
Prices reflect installed cost in the Tampa market and vary based on glass size, thickness, hardware finish, and project complexity. Request a detailed quote for your specific project.
Note: Prices are general estimates and vary based on project specifics. Contact Henderson's Glass & Mirror for an accurate quote for your Tampa home.
If you're replacing an existing enclosure rather than fitting a new one, our guide on when to repair or replace a glass enclosure helps you decide before you budget for a full installation.
Common Mistakes to Avoid During Shower Door Installation
Even with a professional installer, being an informed homeowner helps you get the best outcome:
- Installing before tile is complete — Tile must be fully set and grouted before measurements are taken
- Choosing hardware finish last-minute — Hardware lead times can affect your project schedule
- Ignoring wall substrate — Hollow walls or insufficient blocking can't support frameless hardware safely
- Skipping the protective coating — In Tampa's hard water conditions, a hydrophobic coating dramatically reduces cleaning effort
- Using the shower too soon — Silicone needs 24–48 hours to fully cure; using the shower early compromises the seal
Frameless vs. Semi-Frameless vs. Framed: Which Is Right for Your Tampa Bathroom?
| Feature | Framed | Semi-Frameless | Frameless |
|---|---|---|---|
| Aesthetic | Traditional | Modern-transitional | Luxury/contemporary |
| Glass thickness | 3/16" – 1/4" | 1/4" | 3/8" – 1/2" |
| Cleaning ease | Moderate (tracks collect grime) | Good | Excellent |
| Price | Most affordable | Mid-range | Premium |
| Customization | Limited | Moderate | Highly customizable |
| Best for | Budget renovations | Most bathrooms | Luxury upgrades |
Key Takeaways
- Professional measurement is non-negotiable — even minor inaccuracies cause costly problems with custom glass
- Tempered glass is required by Florida Building Code for all shower enclosures
- The full process typically takes 2–4 weeks from first contact to final installation
- Frameless shower doors are the most popular upgrade in Tampa's luxury and modern bathroom market
- Silicone must cure 24–48 hours before the shower can be used after installation
- A protective hydrophobic coating is strongly recommended for Tampa homeowners dealing with hard water
- Choosing a local, experienced glass company ensures familiarity with Tampa building codes, humidity considerations, and installation best practices
Frequently Asked Questions
How long does shower door installation take on the day itself?
Most standard shower door installations take between 2 and 4 hours on the day. Larger, more complex frameless enclosures or multi-panel systems may take 4–6 hours. Your installer should give you a time estimate during the consultation stage.
Can shower doors be installed on any shower base or pan?
Most shower doors can be installed on standard prefabricated pans, custom tile bases, and curb or curbless configurations. However, the type of base affects which enclosure styles are suitable. Your measuring technician will assess this during the site visit.
How soon can I use my shower after installation?
You should wait 24 to 48 hours after installation before using the shower. This allows the silicone caulk and sealants to fully cure. Using the shower too early can compromise water seals and lead to leakage.
Do I need a permit for shower door installation in Tampa?
In most cases, a standard shower door replacement does not require a permit in Tampa. However, if the installation is part of a larger bathroom remodel involving structural changes or plumbing alterations, permits may be required. Your contractor should advise you on this.
What's the difference between clear glass and low-iron glass for shower doors?
Standard clear tempered glass has a slight green tint, which is most visible when looking at the edge of the glass. Low-iron glass (also called ultra-clear or Starphire) has significantly less iron content, resulting in a crystal-clear, neutral appearance. Low-iron glass is preferred for high-end installations where colour accuracy and clarity are priorities.
How do I maintain a glass shower door in Tampa's hard water conditions?
Tampa's water has elevated mineral content, which leads to hard water spots and calcium deposits on glass surfaces. To minimize buildup: squeegee after every use, apply a hydrophobic protective coating at installation, and clean monthly with a pH-neutral glass cleaner. Avoid abrasive scrubbers that scratch the glass surface.
Can shower doors be installed on walls that aren't perfectly square?
Yes — this is actually one of the most important reasons to hire a professional. Skilled installers and fabricators account for out-of-plumb and out-of-square walls during measurement and fabrication, cutting glass panels to compensate for wall variance. DIY installations often fail at this stage.
Ready to Transform Your Tampa Bathroom?
Henderson's Glass & Mirror brings precision craftsmanship, premium materials, and deep local expertise to every shower door installation in the Tampa area. Whether you're envisioning a sleek frameless enclosure, a custom corner shower, or a simple door replacement, our team handles every detail — from the first measurement to the final polish.
Request your free measurement and quote from Henderson's Glass & Mirror and our team will walk you through styles, glass options, and timelines for your bathroom renovation.
Henderson's Glass & Mirror proudly serves homeowners and contractors throughout Tampa, the greater Tampa Bay area, and surrounding Florida communities.
Ready for a Free Quote?
Get a no-obligation estimate from Florida's trusted glass installers. We come to you.
Get a Free Estimate(321) 443-8502